How I make pictures for my blog with Free/Libre software


A friend of mine asked me for a few time how I made the pictures for my blog, so I decided to go with a small tutorial and hope it will be useful. Usually I start drawing the image for the post after I made the text content, but in this case, I will show and explain the whole process step by step.
My toolset
I have not really optimal setup for making the pictures, but I think it makes them so unique that I have no plan to change it anytime soon. During the process, I use the combination of digital and analogous tools.
Notebook
It is the most essential component in my process, first of all, I made all my pictures using old school method, I draw them on the paper. It is much better to use the blank white sheet, but I don't like when all my images all around the flat so I just draw in the squared notebook and spend five more minutes cleaning it out.
Pen
I tried to use different pens, but the best fit for me is 0.5 mm gel pen. I think the big chunk of the pictures in my blog done with this kind of pen. Sometimes I use different colors. Usually, it is blue or black, and every time despite the color result is very unpredictable, but I think it makes the process even funnier.
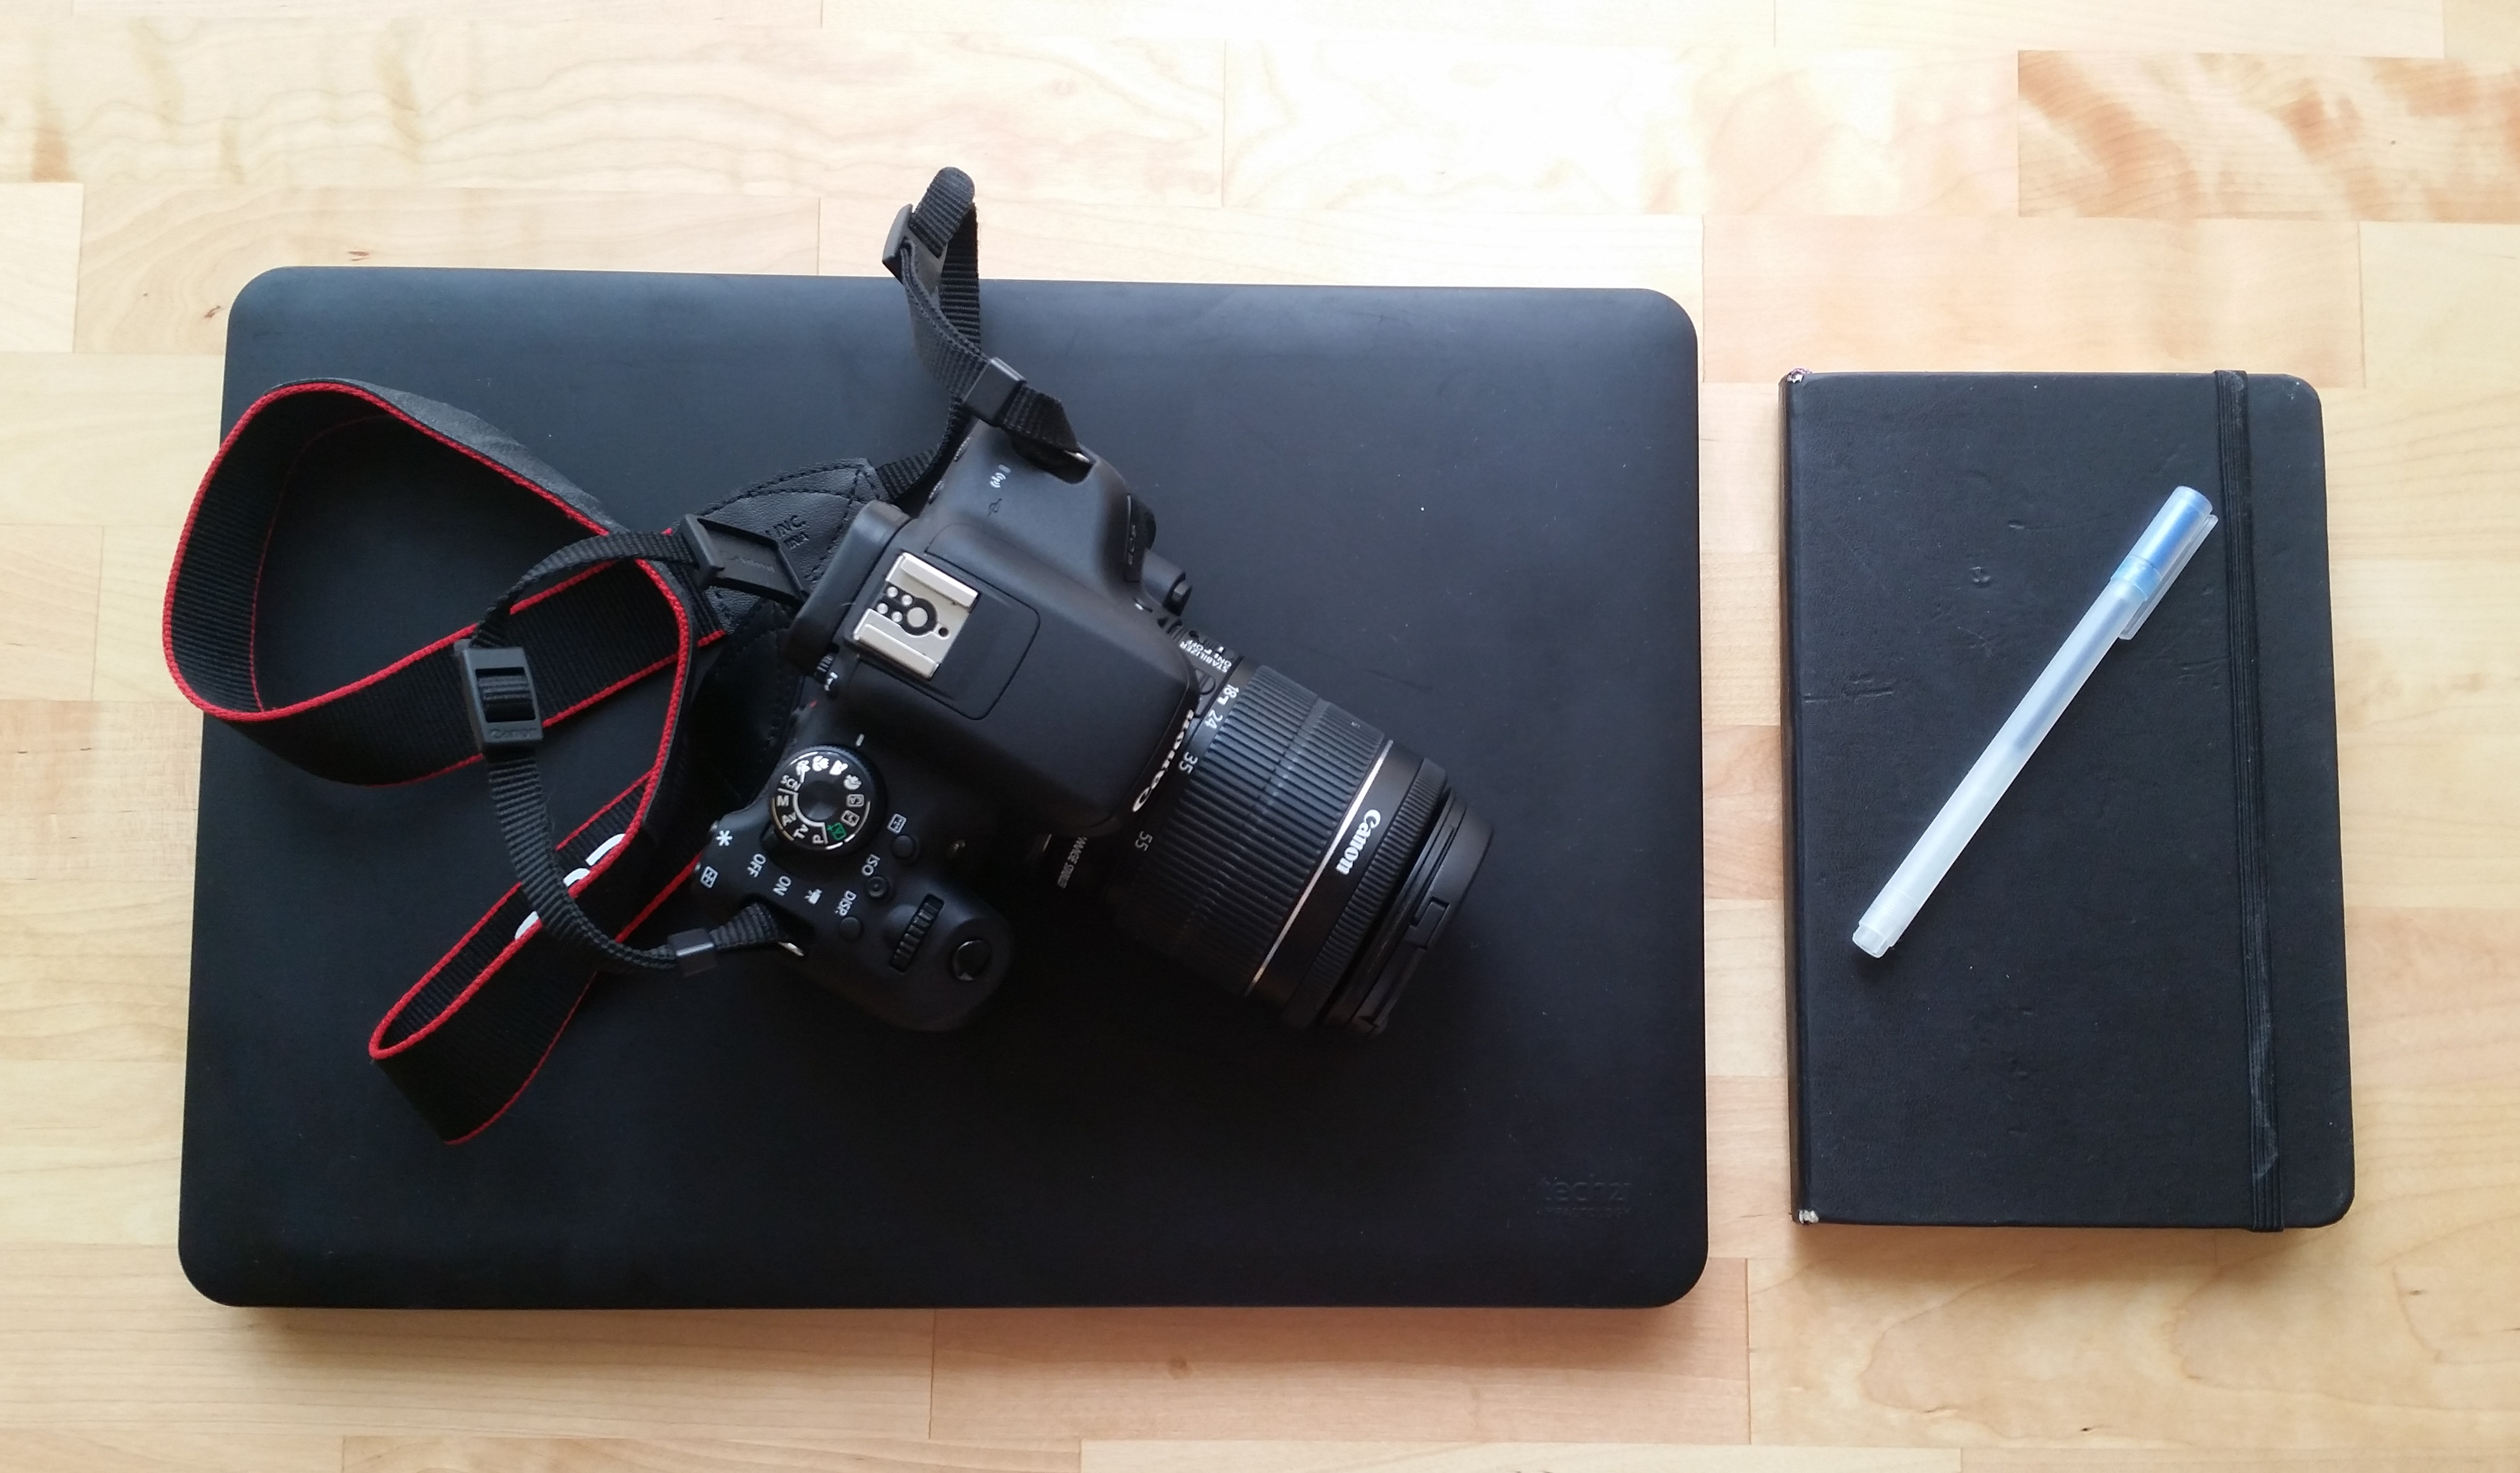
Camera
After I made a picture I need to digitalize it somehow, usually, people use scanners for this purpose, but I didn't have one when I draw my first image but had a DSLR camera instead, this was a foundational event in my art. Although I use DSLR, I'm pretty sure it is possible to do everything with the simple smartphone, and actually I think with smartphone process will be even more comfortable, because it removes the necessity to use RAW photo editor.
Laptop
At the last stages, I use the laptop to clean up and prepare the photo for publishing. Luckily Libre software is present almost for every operating system so almost any modern laptop will fit for this role.
Darktable
I use this tool for the very limited set of features. After I made a photo, I sometimes need to make some basics edits on the RAW image and save it in the format that acceptable for GIMP.
Unbelievable but it is the fact that this tool is absolutely free and contains plenty of handy features that needed for professional photo editing. All this makes the Darktable a strong rival for commercial photo editing software.
In general, this piece of Free/Libre software is an incredible tool for any photographer who cares about software liberty.
Gimp
This is another example of incredible Free/Libre tool that makes all my images shine in a way I want it. Sometimes it could be a little bit hard to start, but after I mastered some basics, I start use GIMP all the time.
There is plenty information about this software on the web and very easy to find an answer to almost any question that could arise. Now I literally use it as my primary image editor and don't think there is any good reason why I should stop do it.
How does the process look
Make a picture in the notebook
I start with some conceptual ideas I have in mind and try to see how they will look like on paper and if I ever make them at all.
Usually, I change few conceptions before I find the view I really like, you can see it in on the photos below.
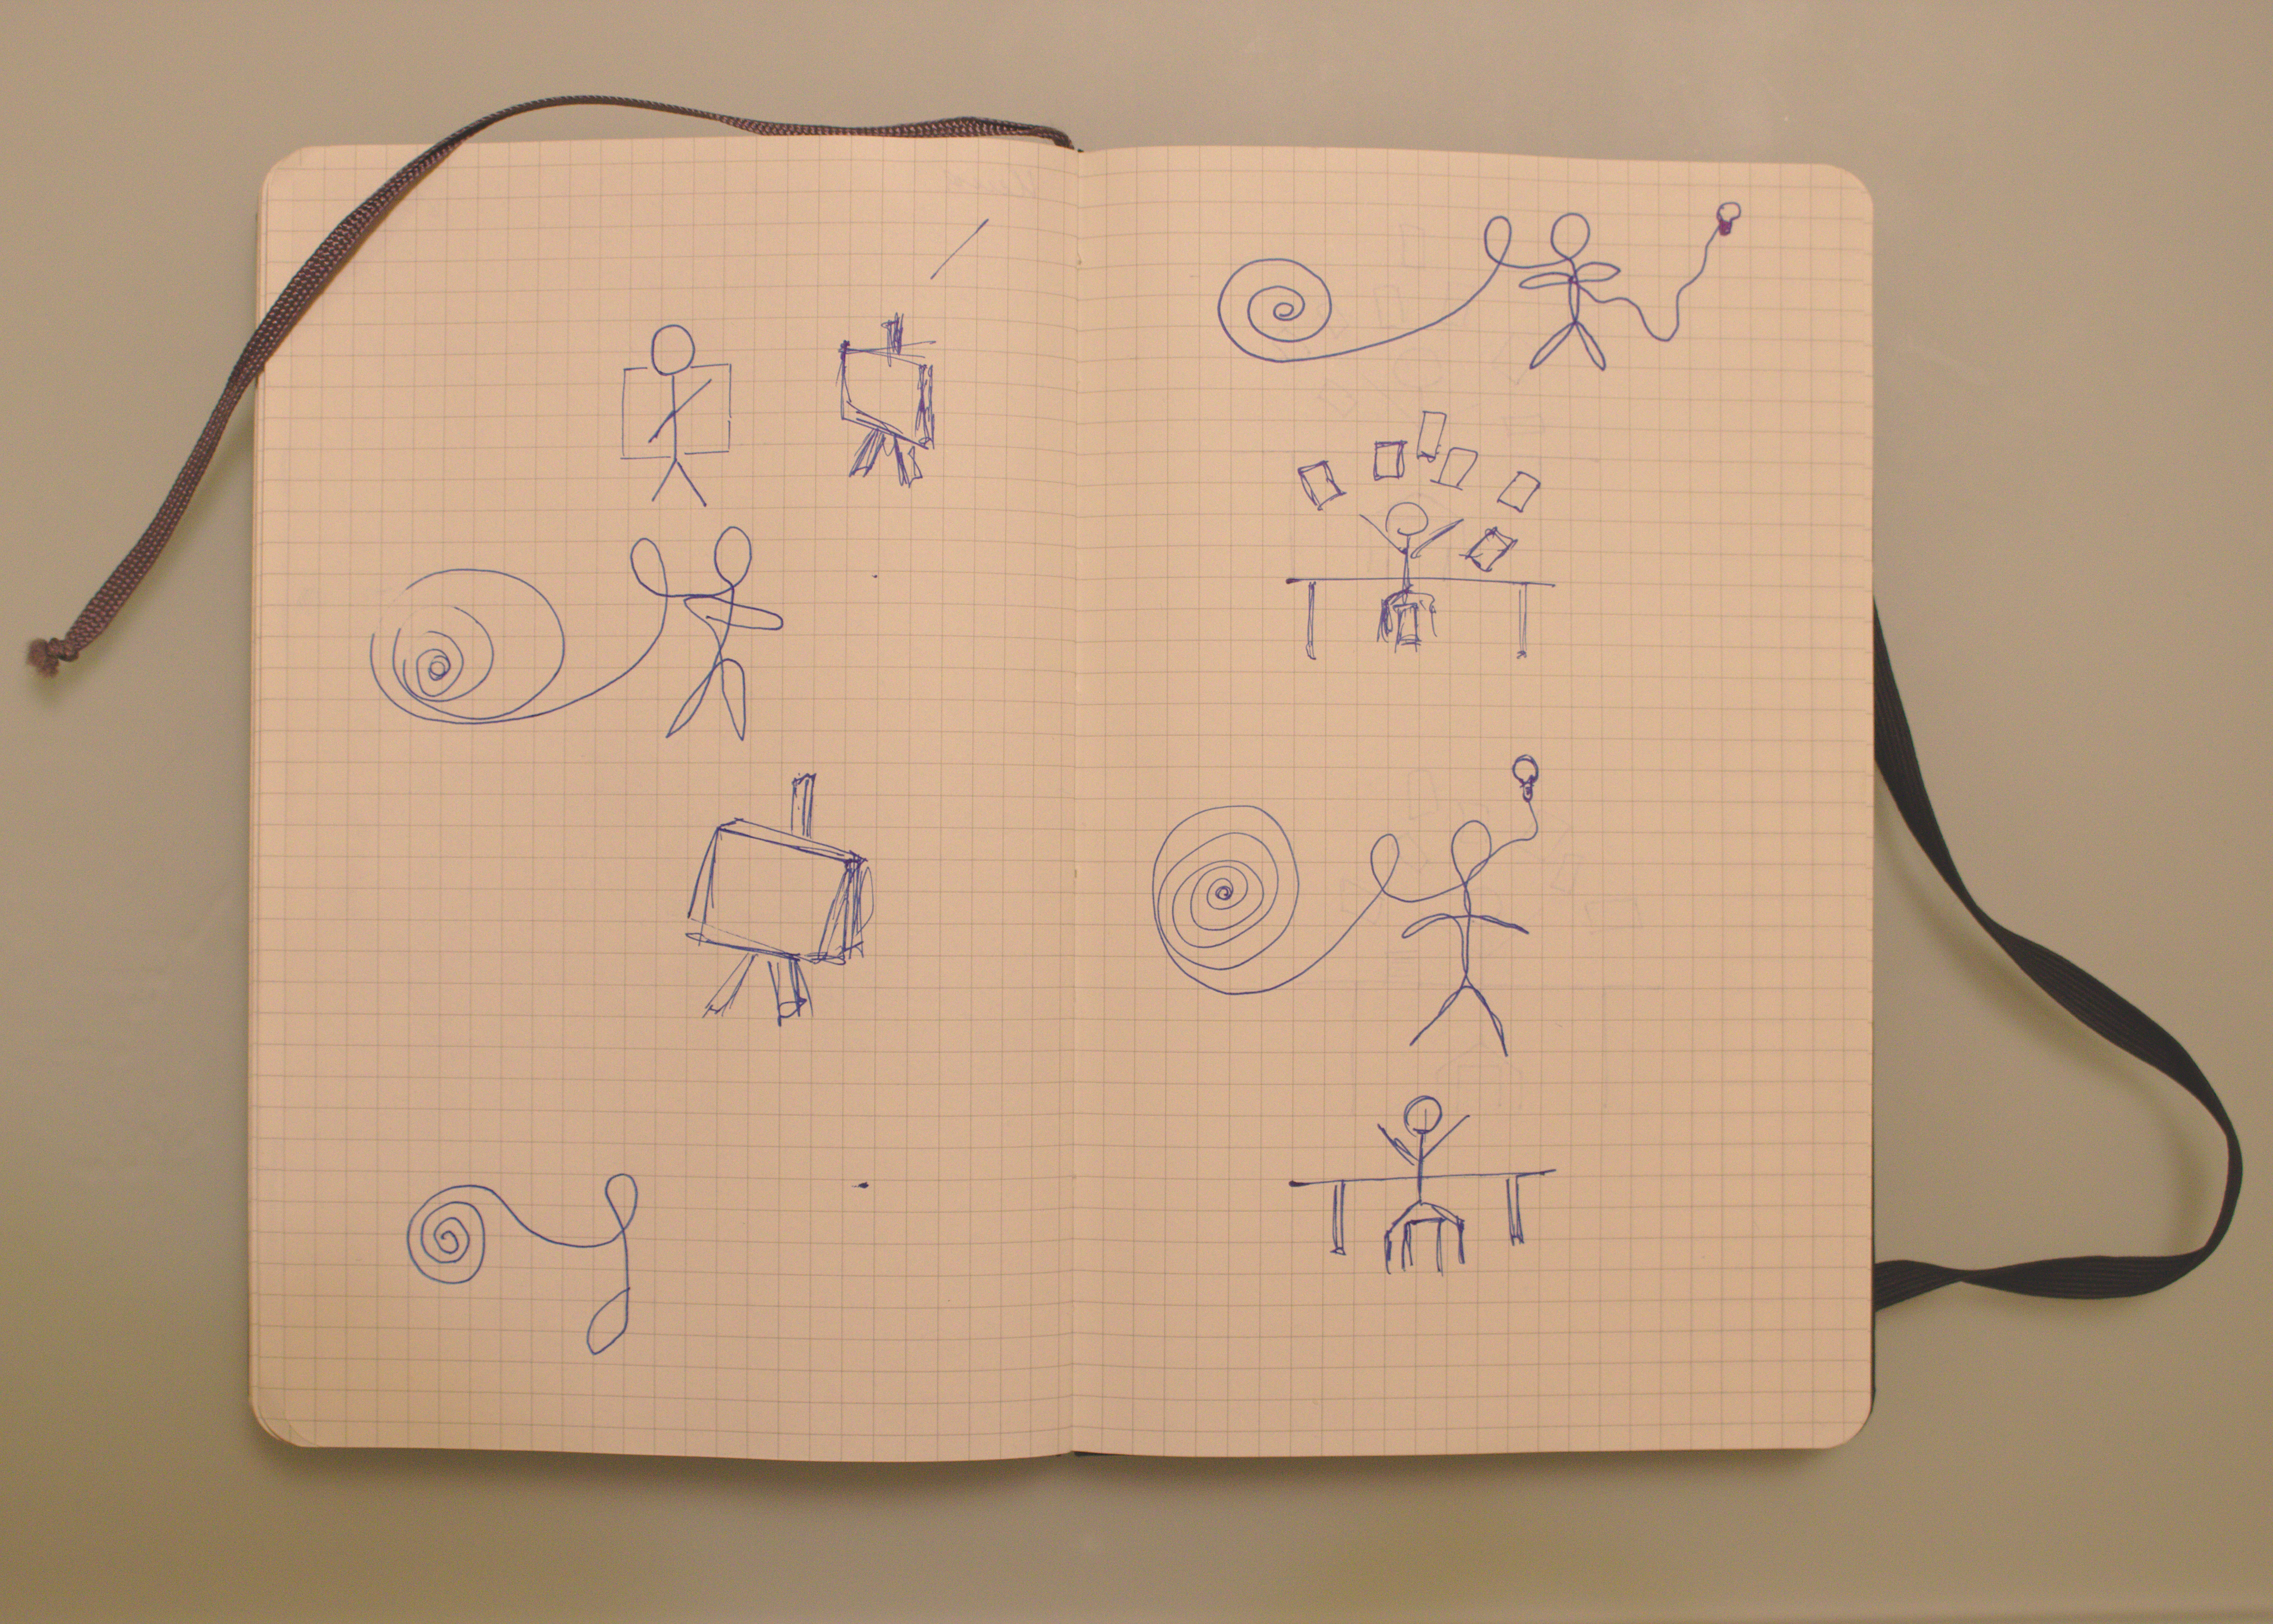
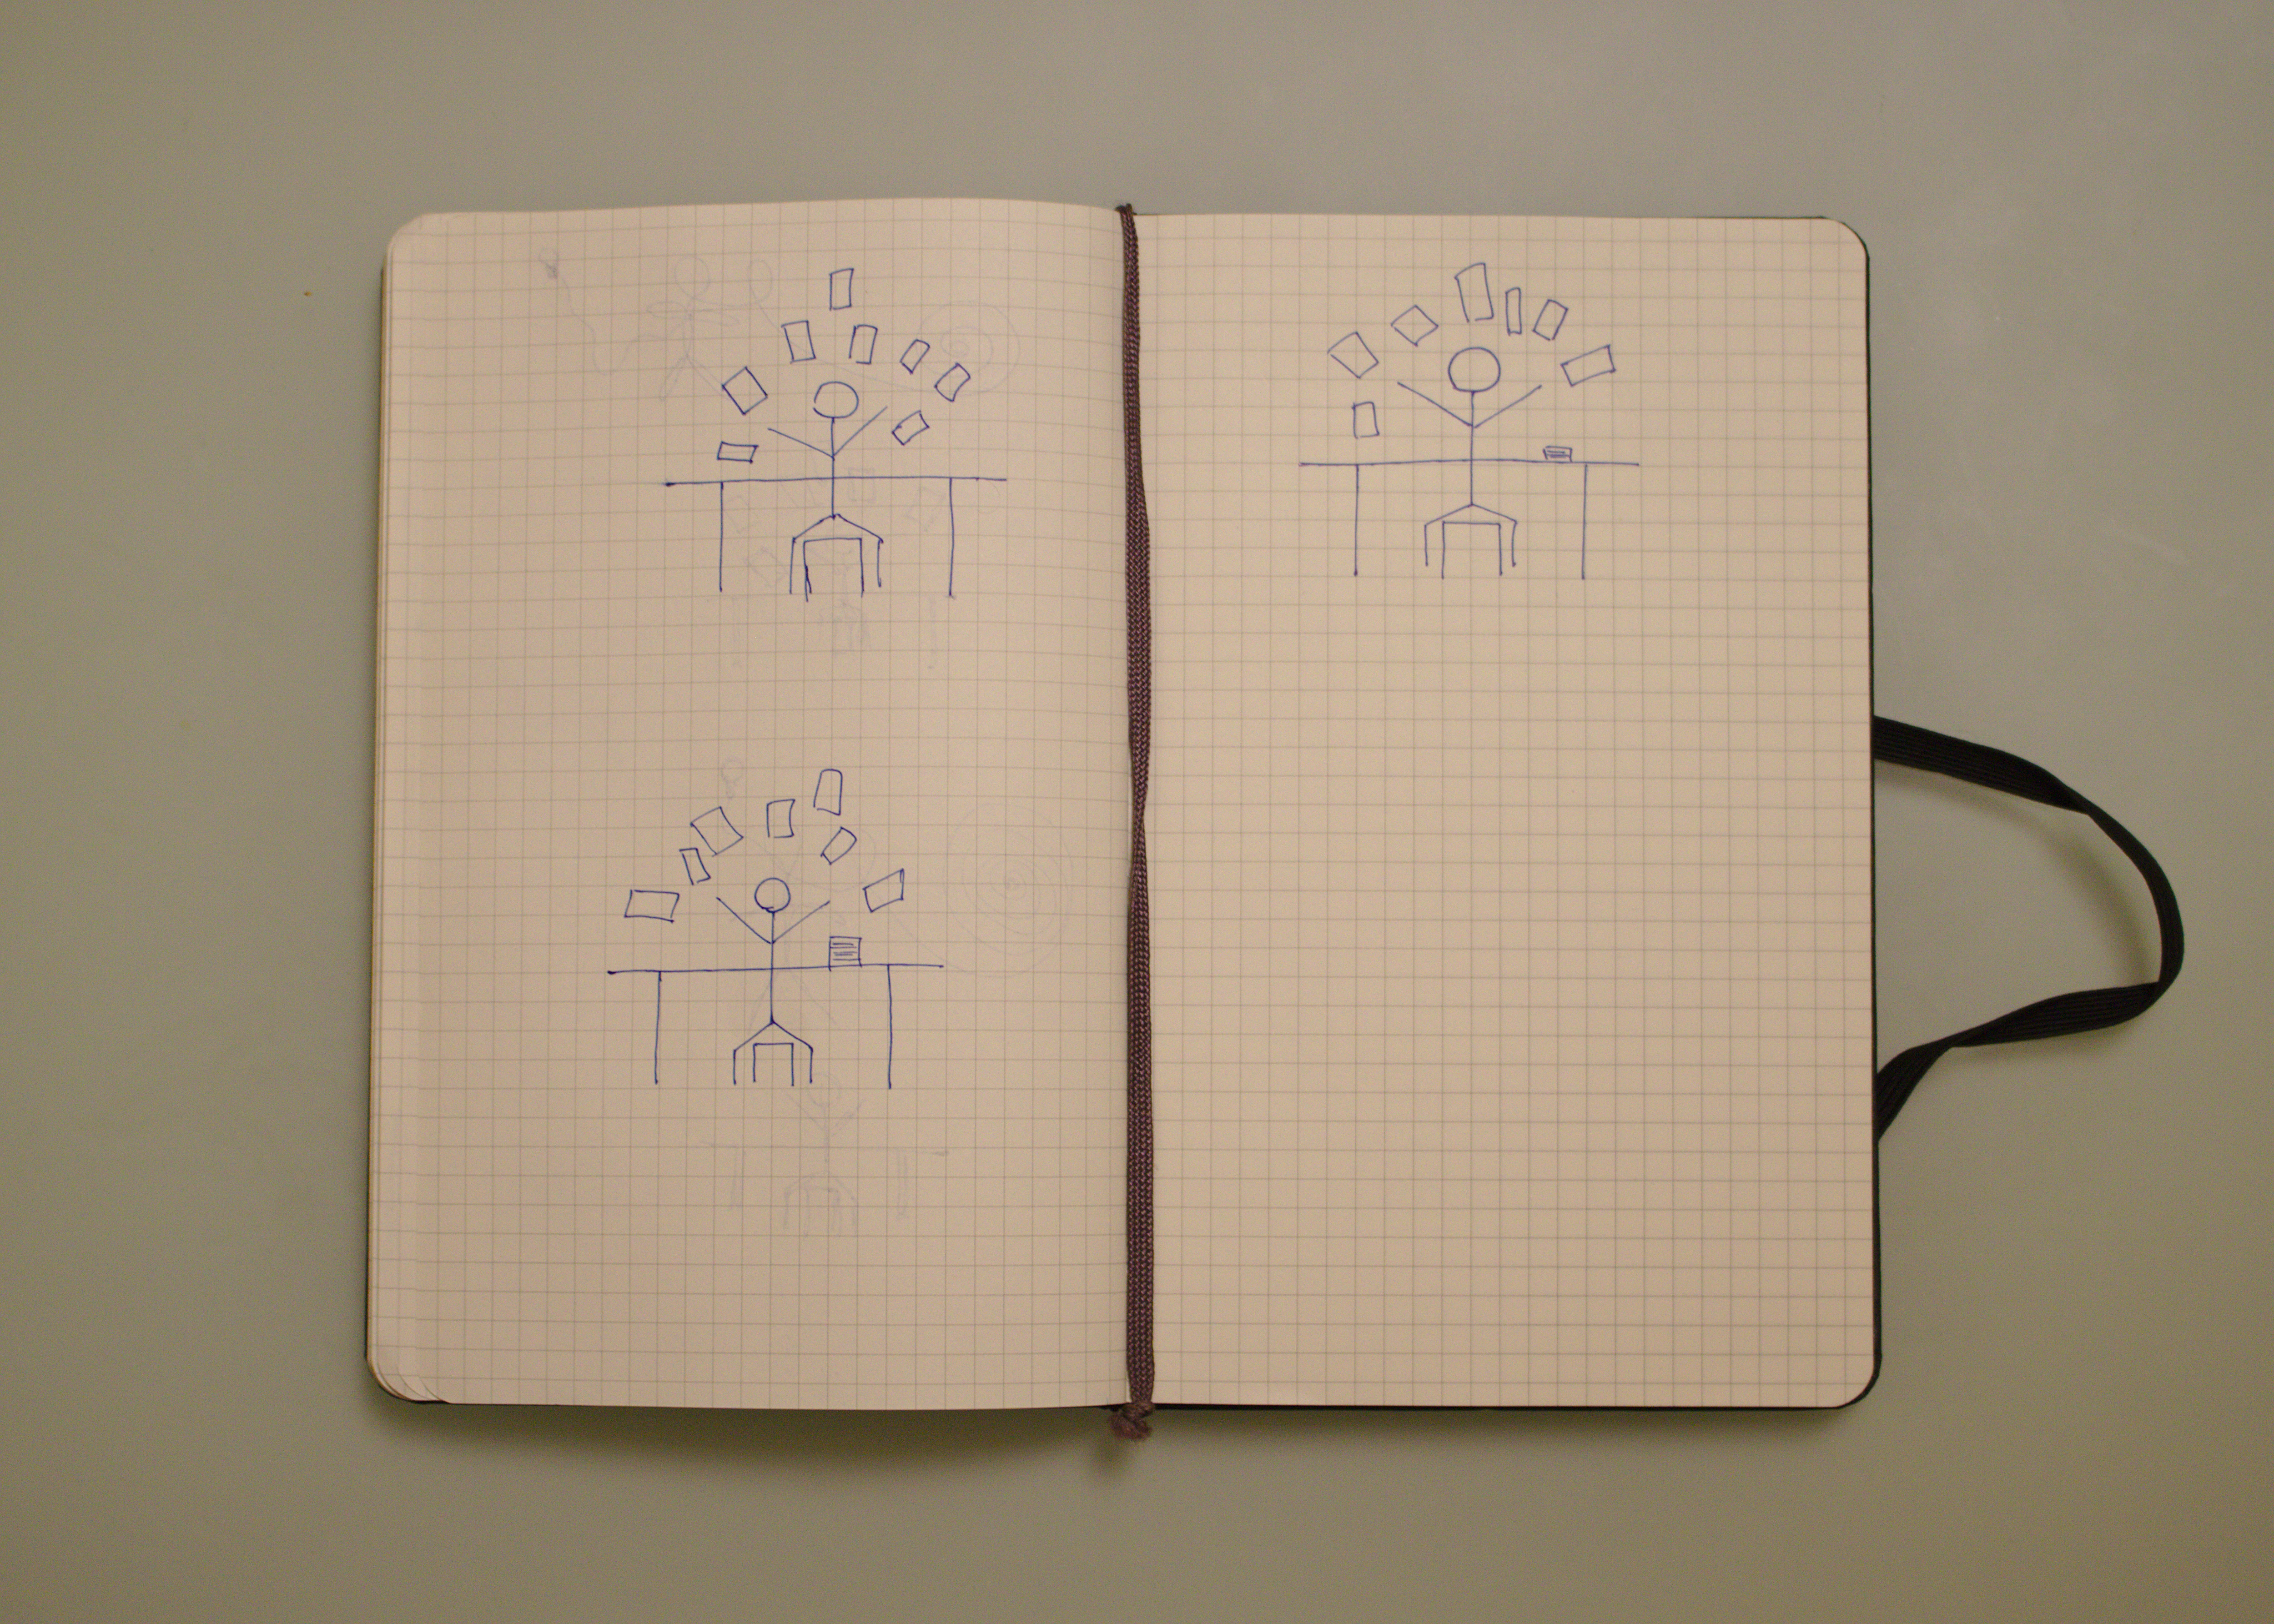
After I found an idea that makes me kind of happy, I iterate over it for a few times, trying different approaches and sizes, but usually, conceptions stay the same.
Digitalize the images with DSLR and Darktable
After I see that image represents the general idea I use my camera to make a photo of the picture.
There are benefits of using DSLR for this purpose, but it is entirely possible to make the shots with a phone camera. In this case no need to use Darktable. I use this software as a RAW camera shots editor, to make some basics manipulations with it, for example, change the exposition or crop the image.
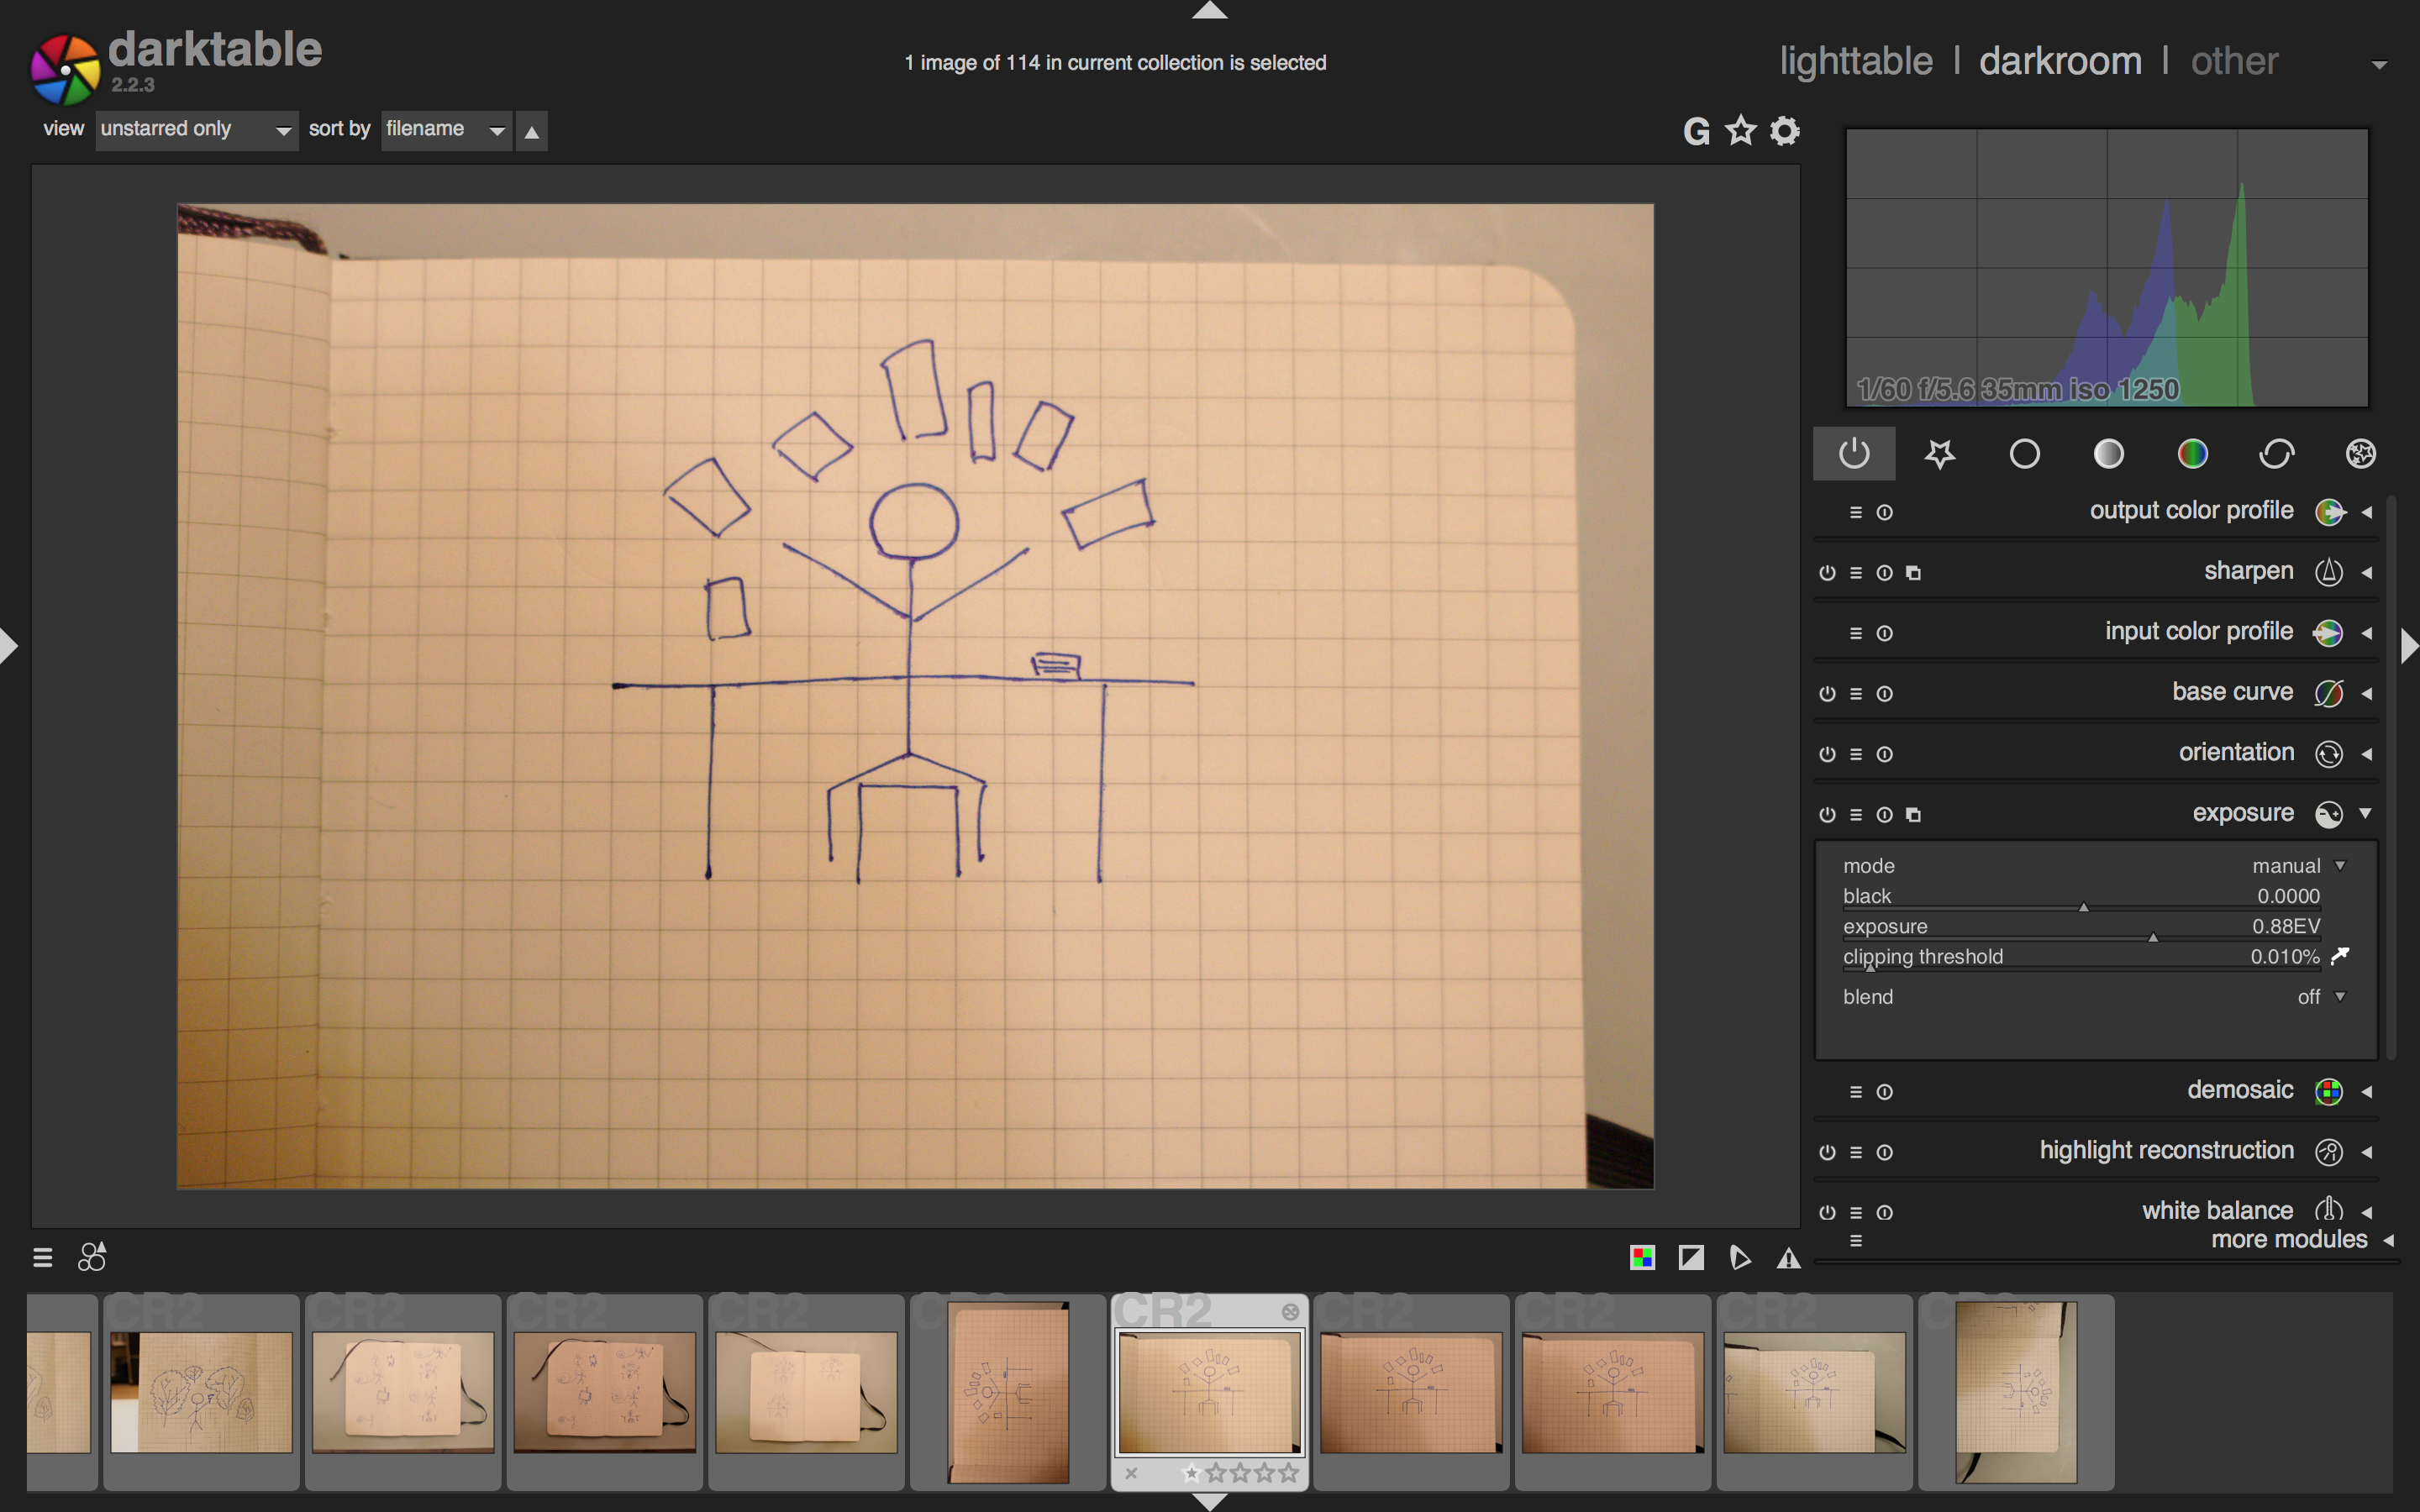
When the image is ready, I export it into one of the formats supportable by GIMP, for example, JPEG without very little of compression.
Secondary editing with GIMP
Now most technical part of the work starting, I have to remove noise from the image and make it seems to be on white background.
Usually, I start with the crop of the internal part of the picture that contains my drawing and paste it into new 5000 x 2000 pixels image.
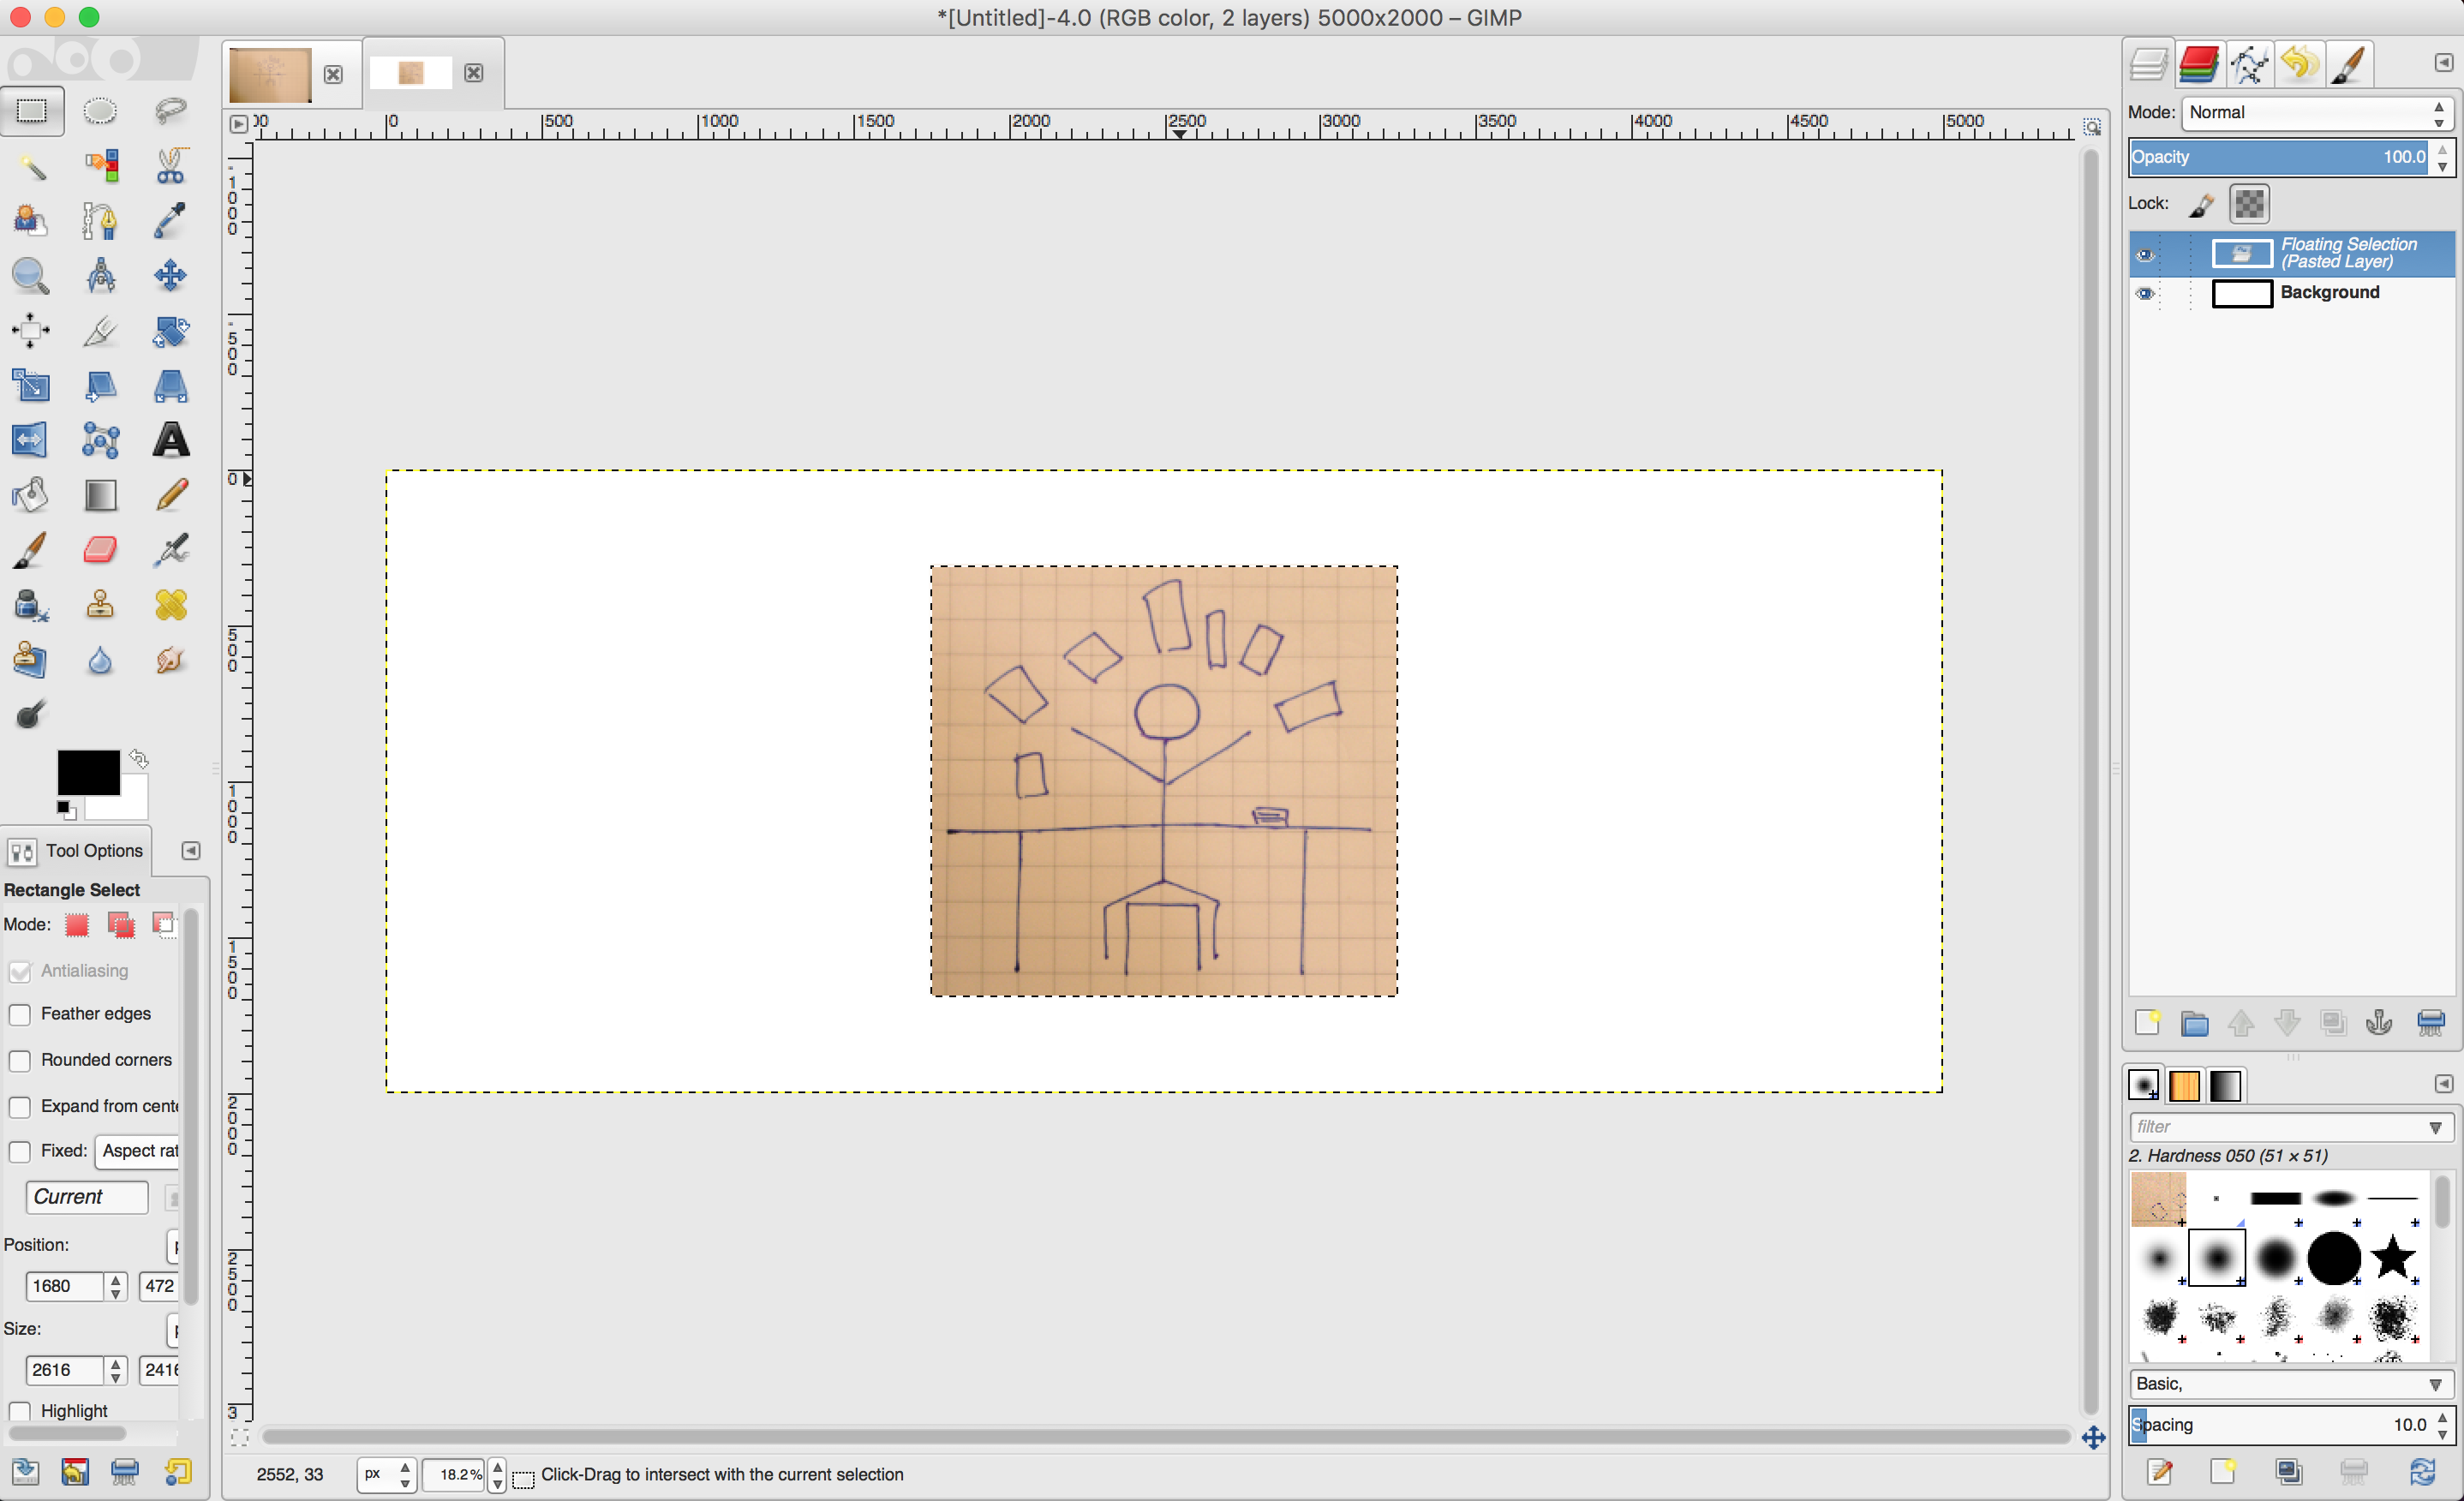
Now I need to clean up everything except pen from the image. In most cases when I need to clean up the picture, I use the "Select by the color tool." This tool is convenient to select some pixels with the unwanted color and replace it with the white foreground color.
After few iterations image looks like this and it is a good sight that I'm moving in the right direction.
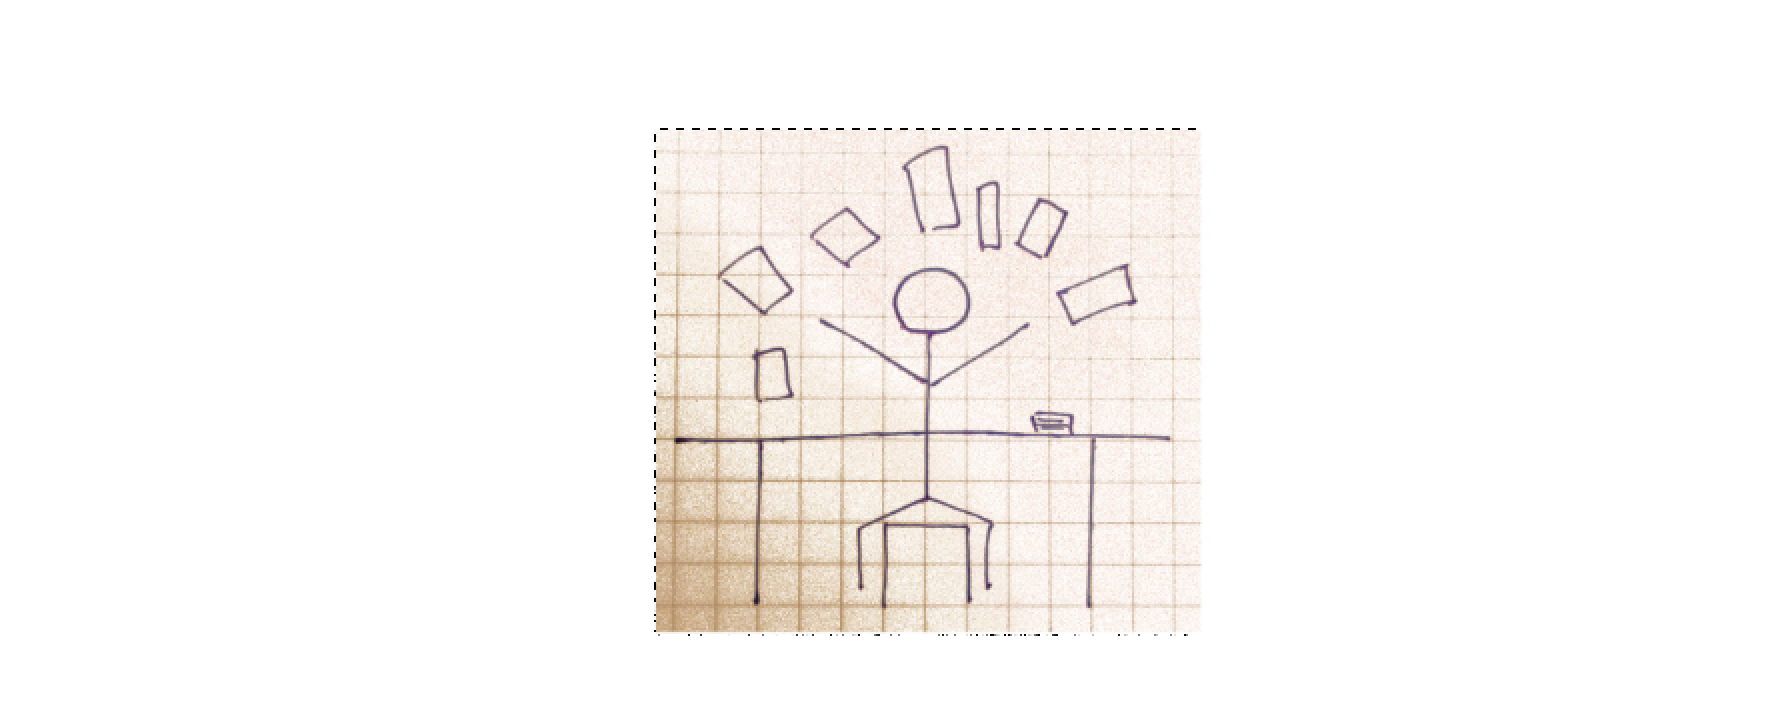
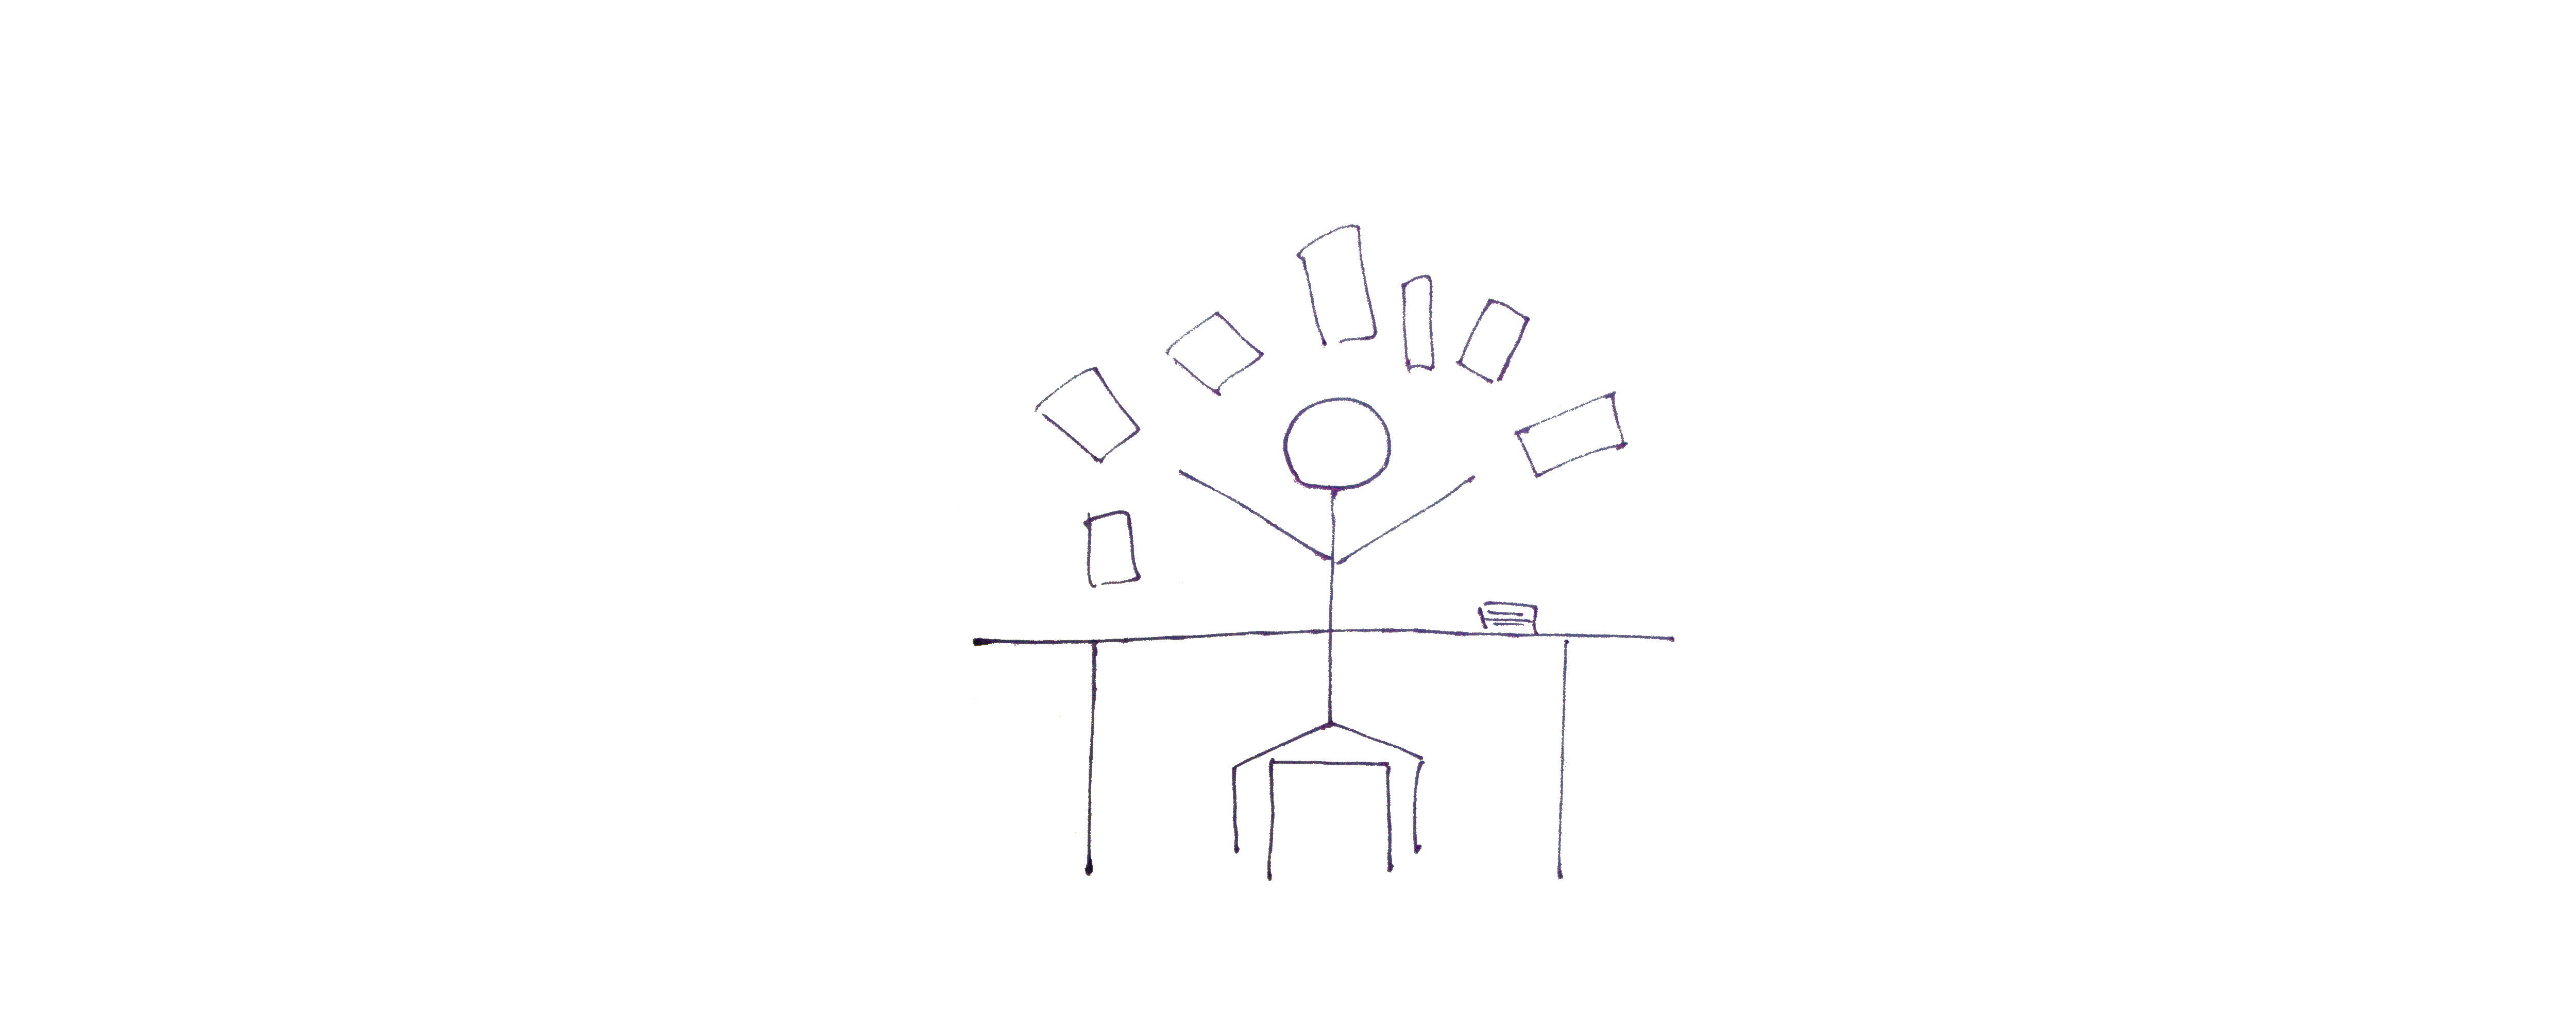
At the end of this process, we will get something like this, and this will be a picture for the blog post.